Cancel FaceApp Subscription: Easy Steps for iPhone & Android
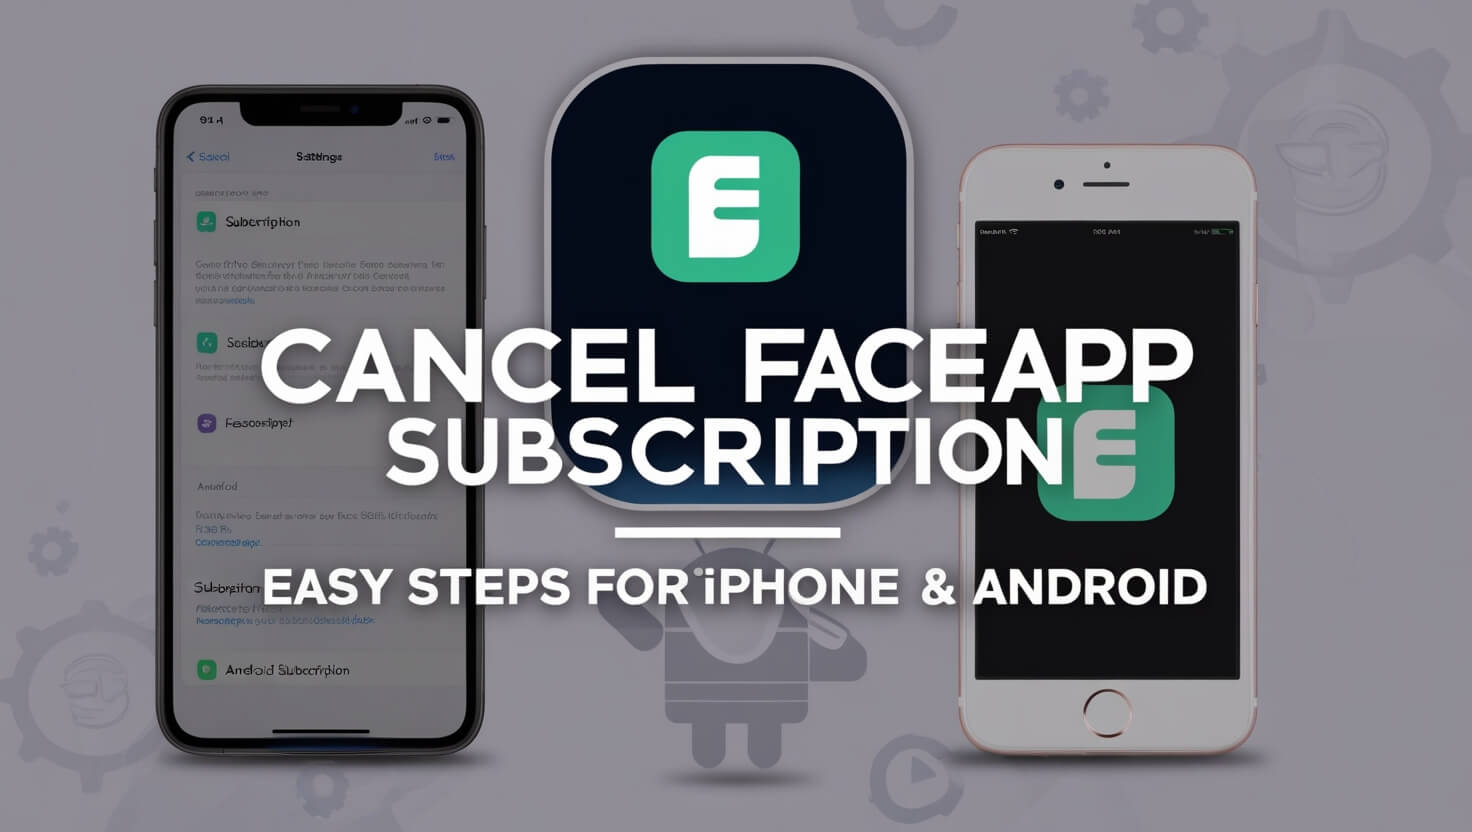
Want to stop your FaceApp subscription? It’s easy. This guide tells you how to cancel on iPhone, Android, and computers. We’ll also help with problems and answer questions about ending FaceApp subscriptions.
FaceApp lets you edit photos in cool ways if you pay. But maybe you don’t want to pay anymore. No problem! We’ll show you how to cancel step-by-step.
What is a FaceApp Subscription?
FaceApp is a photo editing app that uses artificial intelligence to transform your photos. While the basic version is free, FaceApp offers a premium subscription with advanced features.
A FaceApp subscription gives you access to:
- More photo filters and effects
- Faster processing times
- Ad-free experience
- Exclusive updates
Subscriptions can be monthly, yearly, or even lifetime. The cost varies depending on the plan you choose.
Types of FaceApp Subscriptions
FaceApp offers several subscription options:
- Monthly Plan: Billed every month
- Yearly Plan: Billed annually at a discounted rate
- Lifetime Plan: One-time payment for permanent access
Each plan offers the same features but with different billing cycles and overall costs.
Why People Cancel Their FaceApp Subscriptions
People choose to cancel their FaceApp subscriptions for various reasons:
- Cost-cutting measures
- Infrequent use of the app
- Found alternative photo editing apps
- Privacy concerns
- Completed specific photo projects
Whatever your reason, knowing how to cancel is important.
Canceling FaceApp Subscription on Different Platforms
The process to cancel your FaceApp subscription varies slightly depending on your device. Let’s break it down for each platform.
How to Cancel FaceApp Subscription on iPhone
iPhone users have two main methods to cancel their FaceApp subscription.
Canceling through Settings
- Open the “Settings” app on your iPhone
- Tap on your Apple ID at the top of the screen
- Select “Subscriptions”
- Find and tap on “FaceApp”
- Tap “Cancel Subscription”
- Confirm your choice
Canceling through the App Store
- Open the App Store
- Tap on your profile icon in the top right corner
- Select “Subscriptions”
- Find and tap on “FaceApp”
- Tap “Cancel Subscription”
- Confirm your cancellation
How to Cancel FaceApp Subscription on Android
Android users can cancel their FaceApp subscription through the Google Play Store.
Canceling through the Google Play Store
- Open the Google Play Store app
- Tap the menu icon (three horizontal lines)
- Select “Subscriptions”
- Find and tap on “FaceApp”
- Tap “Cancel subscription”
- Follow the prompts to confirm
Canceling through FaceApp Settings
Some versions of FaceApp allow cancellation through the app:
- Open FaceApp
- Go to Settings
- Tap on “Subscription”
- Select “Cancel Subscription”
- Follow the prompts to confirm
Canceling FaceApp Subscription on Desktop
You can also cancel your FaceApp subscription using a computer.
Using iTunes (for older systems)
- Open iTunes
- Click “Account” in the menu bar
- Select “View My Account”
- Scroll to “Settings” and click “Manage” next to Subscriptions
- Find FaceApp and click “Edit”
- Click “Cancel Subscription”
Using web browsers
- Go to reportaproblem.apple.com (for iOS) or play.google.com/store/account/subscriptions (for Android)
- Sign in with your Apple ID or Google account
- Find FaceApp in your subscriptions list
- Click “Cancel Subscription”
- Confirm your choice
Step-by-Step Guide to Cancel FaceApp Subscription
Let’s break down the cancellation process into clear steps.
Preparation Before Canceling
Before you start:
- Make sure you’re signed in to the correct account
- Check your current subscription status
- Note the end date of your current billing cycle
Locating Your FaceApp Subscription
Finding your subscription is the first step:
- Go to your device’s app store
- Navigate to the subscriptions section
- Scroll through your active subscriptions
- Locate FaceApp in the list
Initiating the Cancellation Process
Once you’ve found FaceApp:
- Tap on the FaceApp subscription
- Look for the “Cancel Subscription” option
- Tap “Cancel Subscription”
Confirming Your Cancellation
To finalize the cancellation:
- Read any warning messages
- Select a reason for canceling (if prompted)
- Confirm your decision to cancel
What Happens After Canceling Your FaceApp Subscription
After cancellation:
- You’ll receive a confirmation email
- You can continue using premium features until the end of the current billing cycle
- Your subscription will not renew automatically
Troubleshooting Common Issues
Sometimes, canceling a subscription isn’t smooth sailing. Here are some common issues and how to solve them.
Can’t Find the Cancel Button
If you can’t find the cancel button:
- Make sure you’re logged into the correct account
- Check if your subscription is through a third-party service
- Contact FaceApp support for assistance
Subscription Still Active After Cancellation
If your subscription is still active:
- Double-check the cancellation confirmation email
- Wait 24-48 hours for the system to update
- Contact your app store’s support if the issue persists
Accidental Renewal of FaceApp Subscription
If your subscription was renewed accidentally:
- Cancel it immediately
- Request a refund through your app store
- Contact FaceApp support for assistance
Alternatives to Canceling FaceApp Subscription
Not ready to fully cancel? Consider these alternatives.
Pausing Your FaceApp Subscription
Some services offer a pause option:
- Check if FaceApp allows subscription pausing
- If available, find the “Pause Subscription” option
- Choose how long you want to pause
Downgrading Your FaceApp Subscription Plan
To downgrade:
- Go to your subscription settings
- Look for a “Change Plan” option
- Select a lower-tier plan if available
Managing Other App Subscriptions
Learning to manage FaceApp can help with other subscriptions too.
Tips for Keeping Track of Your App Subscriptions
Stay on top of your subscriptions:
- Set calendar reminders for renewal dates
- Regularly review your active subscriptions
- Use subscription-tracking apps
How to Cancel Other Popular App Subscriptions
The process is similar for many apps:
- Go to your device’s app store
- Find the subscriptions section
- Select the app you want to cancel
- Follow the cancellation prompts
FaceApp Subscription FAQs
Let’s address some common questions about canceling FaceApp subscriptions.
Will I Get a Refund After Canceling?
Typically, no. Most subscriptions, including FaceApp, don’t offer refunds for partial months. You’ll have access until the end of your current billing cycle.
Can I Still Use FaceApp After Canceling?
Yes, you can still use FaceApp’s free features after canceling. However, you’ll lose access to premium features when your subscription ends.
How to Resubscribe to FaceApp
To resubscribe:
- Open FaceApp
- Go to the subscription section
- Choose a plan
- Confirm your purchase
Remember, prices and available plans may change over time.
Conclusion
Canceling your FaceApp subscription is easy if you follow these steps. The process may be a bit different depending on your device and app version. If you have trouble, ask FaceApp or your app store for help.
It’s smart to know how to manage your app subscriptions. This helps you control what you spend on apps.
We hope this guide made it clear how to cancel FaceApp. Whether you’re taking a break or quitting for good, you now know what to do.

