How to Cancel Noggin Subscription on Amazon in 5 Easy Steps
Have you signed up for a Noggin subscription through Amazon Prime Video Channels and want to cancel it? Getting rid of unwanted video subscriptions can be a hassle, but cancelling Noggin on Amazon is simple if you follow the right steps.
In this detailed guide, we’ll cover everything you need to know to successfully unsubscribe from Noggin through your Amazon account, including:
- What Noggin is
- Why you might want to cancel
- Locating your Noggin subscription in Amazon
- Step-by-step instructions for cancellation
- What happens after you cancel
- Troubleshooting tips
- How to fully delete your Noggin account
- Confirming cancellation is complete
Let’s start by understanding what exactly Noggin offers and why you might be considering cancellation.
What is Noggin? Overview of the Noggin App & Content
Noggin is an ad-free, subscription-based mobile app for preschoolers focused on educational entertainment. It’s owned by Nickelodeon and provides access to:
- Learning games
- Interactive videos
- Books and read alongs
- Music playlists
- Educational activities
The app aims to be a fun and engaging way for kids ages 2-8 to learn early skills across subjects like reading, math, creativity, and more.
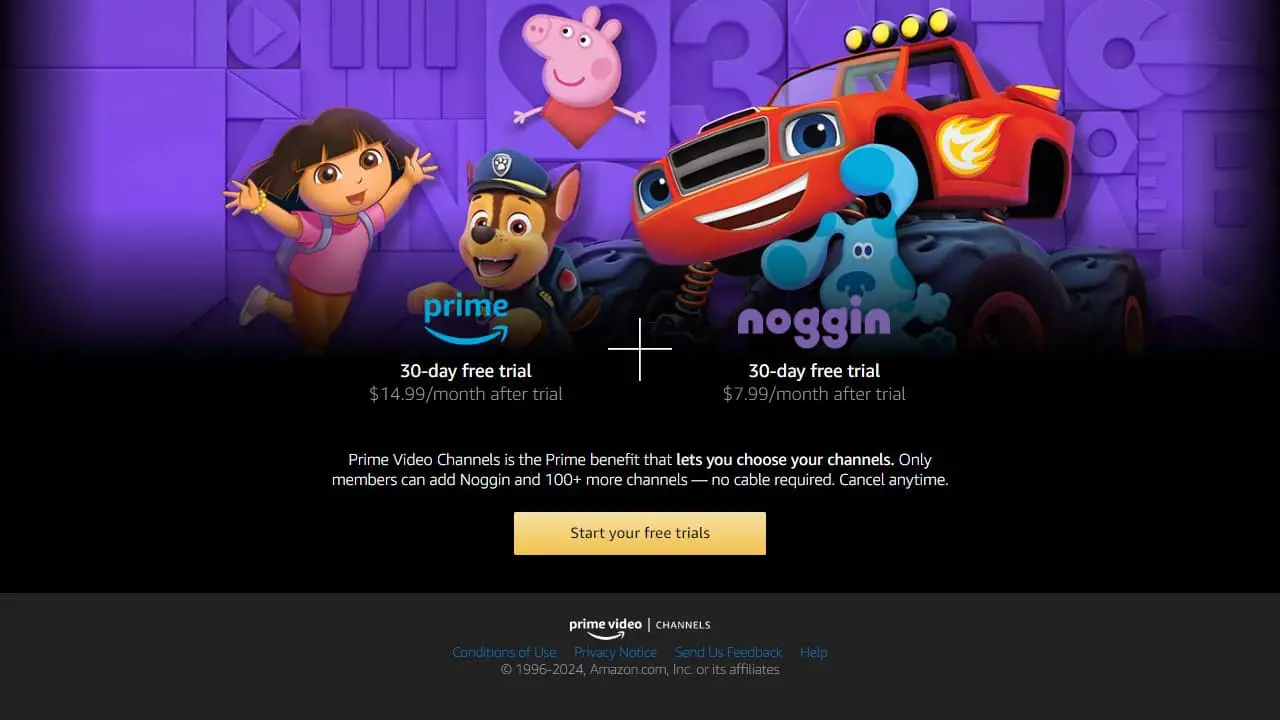
Noggin is available as an Amazon Prime Video channel add-on for $7.99 per month. Adding it gives you access via the Prime Video app or website in addition to the main Noggin app.
Why You Might Want to Cancel Your Noggin Subscription
There’s a few common reasons you may want to unsubscribe from the Noggin channel on Amazon:
- It renews automatically so you get charged every month if you forget about it
- Your kids have outgrown Noggin content
- You prefer them to watch other shows
- You want to cut back on subscription costs
- You subscribed accidentally or on the wrong Amazon account
- Someone else in your household subscribed without telling you
Especially if you’ve forgotten about that recurring charge, cancelling is quick way to put a stop to surprise fees or make changes as your family’s interests evolve.
Where to Find Your Noggin Subscription in Your Amazon Account
Before cancelling your Noggin subscription, you first need to locate it in your Amazon account.
If you subscribed on an iPhone, iPad or Android device:
Open the Amazon Shopping app > Tap the hamburger menu icon > Select “Your Account”
This will show all of your Amazon subscriptions including Prime membership itself as well as any Prime Video channels like Noggin.
If you subscribed on the Amazon website or from a desktop:
Go to amazon.com and make sure you’re signed into your account > Hover over “Account & Lists” in the top nav bar > Select “Memberships & Subscriptions“
You’ll then see any active subscriptions associated with your login. Locate Noggin in the list of Prime Video channels.
If you subscribed on a Fire tablet:
From the home screen, tap into Apps > Library > Subscriptions
Noggin should be visible there alongside any other channel subscriptions tied to your Amazon account.
Step-by-Step Instructions for Cancelling Noggin on Amazon
Once you’ve found your Noggin subscription within your Amazon account, it just takes a few taps to cancel.
Here is the full process broken down:
1. Navigate to Manage Prime Video Channels
On amazon.com, hover over “Account & Lists” in the top nav bar and choose “Prime Video Channels”.
This is the main hub to view and control any add-on subscriptions through Amazon Prime Video.
2. Identify the Noggin Subscription
Under the “Prime Video Channels” section, find the tile for Noggin. It will likely show “You are currently subscribed”.
3. Select “Cancel Channel”
Tap the blue “Cancel Channel” button on the Noggin details page.
4. Confirm Cancellation
A popup will appear asking “Are you sure you want to cancel?” Tap “Yes, Cancel” to confirm.
5. Check it Shows As Cancelled
The Noggin subscription tile should now be updated to “Subscription Cancelled” in red text to confirm your request went through successfully!
And that’s all it takes to remove that recurring Noggin charge from your Amazon account.
What Happens After You Cancel Your Noggin Subscription
When you cancel the Noggin channel, your access and billing impacts include:
- You can still watch Noggin video content on Amazon Prime Video until your next billing date when the cancellation takes full effect
- Auto-renewal stops so you won’t get charged again on a monthly basis
- Any remaining subscription time after the cancellation date is forfeited
- You no longer have access to watch Noggin videos or use the standalone Noggin app (unless you directly subscribe through Noggin instead)
So cancel ahead of your next billing cycle if you want to immediately stop payments. But don’t worry – you aren’t deleting your kids’ favorite shows overnight by hitting that cancellation button.
Troubleshooting Tips If You’re Having Issues Cancelling Noggin
Still can’t find that Noggin subscription to cancel in your account? Try these tips:
- Check all user profiles & accounts – A child or family member may have subscribed under their own Amazon login.
- Browse email inboxes for receipts – Any Noggin subscription confirmation message will indicate the associated account.
- Search accounts by email address – You may have multiple Amazon accounts tied to one email requiring extra digging.
- Use Amazon’s chat support if you think a past membership auto-renewed without consent. They can confirm if Noggin is still actively billing an account.
- Try viewing subscription status on the actual Fire, iOS or Android device you originally signed up from.
Hopefully with a bit of searching you can track down the source of that sneaky Noggin bill. Reach out to Amazon Customer Service if you have no luck finding the subscription yourself.
How Do I Delete My Noggin Account After Cancelling the Amazon Subscription?
Cancelling on Amazon stops billing charges but it doesn’t automatically delete your Noggin parent account.
To fully remove your account:
- First cancel the Amazon subscription as outlined above.
- Wait until your final billing date passes so the subscription is completely inactive.
- Go to the Noggin site and sign into manage your parent profile.
- Find and select the option to “Delete Account”, then confirm you wish to proceed with account removal.
Deleting your actual Noggin profile permanently erases your family’s viewing history and activity. Your child will no longer have access to any saved progress or content.
But if privacy is your main concern after cancellation, full account removal ensures a clean break from Nickelodeon.
How to Confirm Your Noggin Cancellation on Amazon Is Complete
To verify that cancellation worked and automatic billing is fully stopped, check two places:
🔹 Your next Amazon statement – there should be NO Noggin fee if cancellation was successful before your renewal date.
🔹 The Prime Video Channels section – Noggin should now say “Subscription Cancelled” with no active membership marked.
And that’s all there is to it! With the right steps, you can cancel recurring charges from your Amazon account without losing access until the next billing cycle.
Key Things to Remember When Unsubscribing from Noggin
- Locate the Noggin subscription in your Amazon account – check Prime Video channels, order history, account subscriptions etc.
- Click the “Cancel Channel” button on the Noggin details page then confirm cancellation
- Your access will continue until the current billing period ends after cancellation
- Check that Noggin shows as “Subscription Cancelled” with no renewal set
- If having issues, use Amazon customer support or search all profiles tied to your account email
- To delete your Noggin parent account, fully cancel on Amazon first then remove your Noggin profile separately
Now you know exactly how to cancel that pesky Noggin subscription through your Amazon account. No more surprise charges for channels you don’t want or use!
Let us know if have any other questions down below about managing or cancelling Prime Video channel subscriptions.
